Move Out Cleaning Procedure for Rental-Ready Results
- jeffwashausen
- Feb 3
- 7 min read

Moving out of a property in St. Augustine or Ponte Vedra can feel overwhelming when every corner needs attention. The difference between a simple clean and a truly rental-ready space comes down to having the right routine and supplies from the start. With a clear plan and the right tools, you can tackle floors, surfaces, and even overlooked areas with confidence, protecting your deposit and meeting your property manager’s expectations. Organizing your cleaning process saves time and reduces stress for move-out success.
Table of Contents
Quick Summary
Key Point | Explanation |
1. Assemble a Cleaning Kit | Gather all essential cleaning supplies like all-purpose cleaners, microfiber cloths, and protective gloves for effective cleaning. |
2. Declutter Personal Items | Remove all personal belongings and sort items into keep, donate, and discard categories for an easier cleaning process. |
3. Thoroughly Clean Surfaces | Follow specific cleaning methods for various surfaces, ensuring every area is spotless and sanitized. |
4. Sanitize Kitchens and Bathrooms | Focus on high-touch areas, using appropriate disinfectants to ensure a hygienic environment. |
5. Conduct a Final Inspection | Perform a detailed room-by-room check to identify any missed areas, accompanied by clear photographs for documentation. |
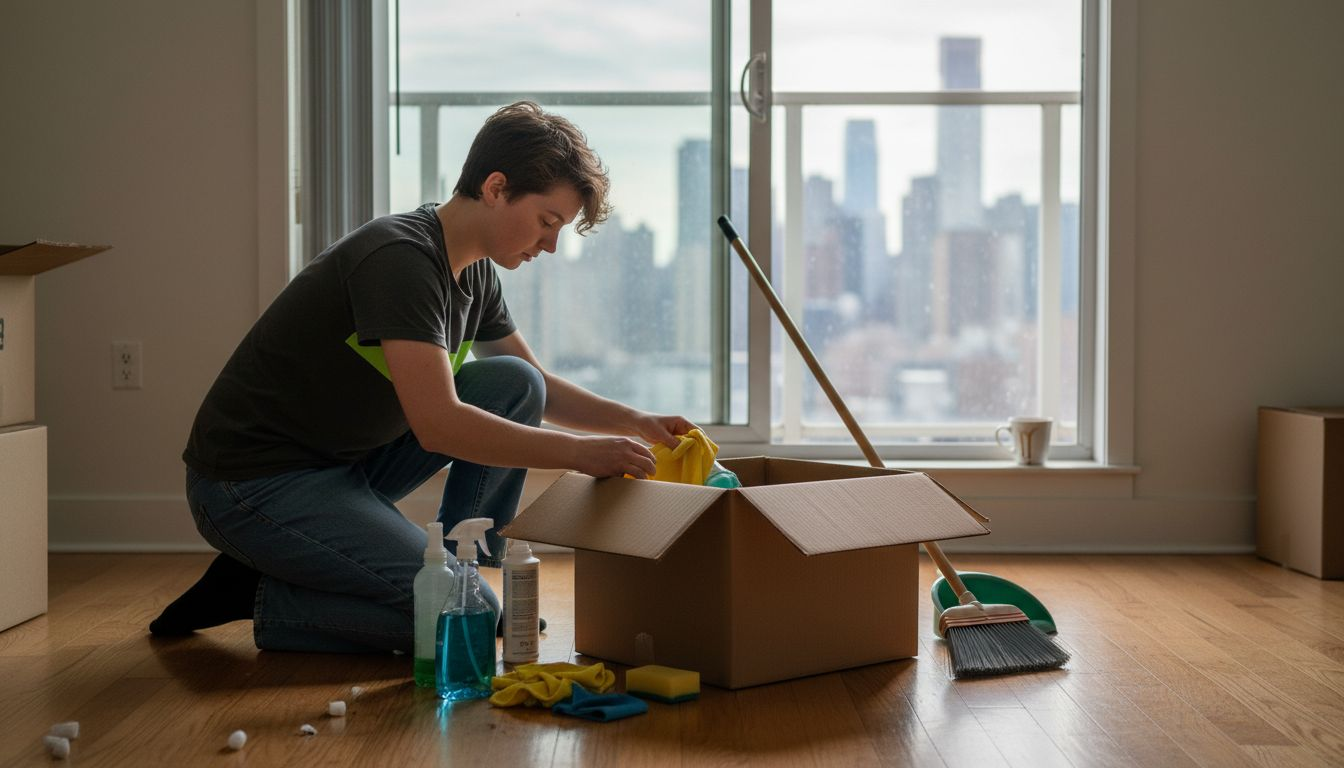
Step 1: Gather Cleaning Supplies and Essential Tools
Preparing for a successful move-out cleaning requires assembling the right arsenal of cleaning tools and supplies. Your goal is to create a comprehensive kit that allows you to tackle every surface and corner of your rental space efficiently and thoroughly.
Start by collecting essential cleaning supplies that will help you achieve a rental-ready clean. Your cleaning kit should include:
All-purpose cleaners for versatile surface cleaning
Disinfectant solutions for sanitizing high-touch areas
Microfiber cloths for streak-free wiping
Scrub brushes for tough grime and grout
Sponges with non-abrasive surfaces
Protective gloves to keep hands safe
Trash bags for collecting debris
Vacuum cleaner with attachments
Mop and bucket for floor cleaning
Glass cleaner for mirrors and windows
Organize your supplies in a caddy or bucket for easy transportation between rooms. This approach ensures you have everything within reach and minimizes unnecessary trips back and forth.
Pro tip: Choose environmentally friendly, non-toxic cleaning products that are effective and safe for various surfaces.
Pro tip: Invest in quality microfiber cloths, as they’re more efficient and eco-friendly compared to disposable cleaning wipes.
Step 2: Declutter Spaces and Remove Leftover Items
Decluttering is a critical step in preparing your rental space for move-out, ensuring you leave the property clean and free of personal belongings. Your objective is to systematically sort through and remove items, creating a clear space for thorough cleaning and inspection.
Begin by sorting through personal possessions using a strategic approach that helps you efficiently manage your belongings:
Identify different categories for your items
Create separate piles for:
Items to keep
Items to donate
Items to discard
Start with obvious trash and unnecessary items
Work methodically through drawers, shelves, and storage spaces
Check hidden areas like closets, under furniture, and cabinet interiors
Focus on removing all personal items, ensuring you leave no trace of your previous occupancy. Pay special attention to frequently overlooked spaces such as kitchen cabinets, bathroom storage, and utility closets.
Decluttering helps reduce stress and makes the cleaning process significantly easier.
Pro tip: Take photos of the empty spaces after decluttering to document the property’s condition and protect yourself from potential disputes.
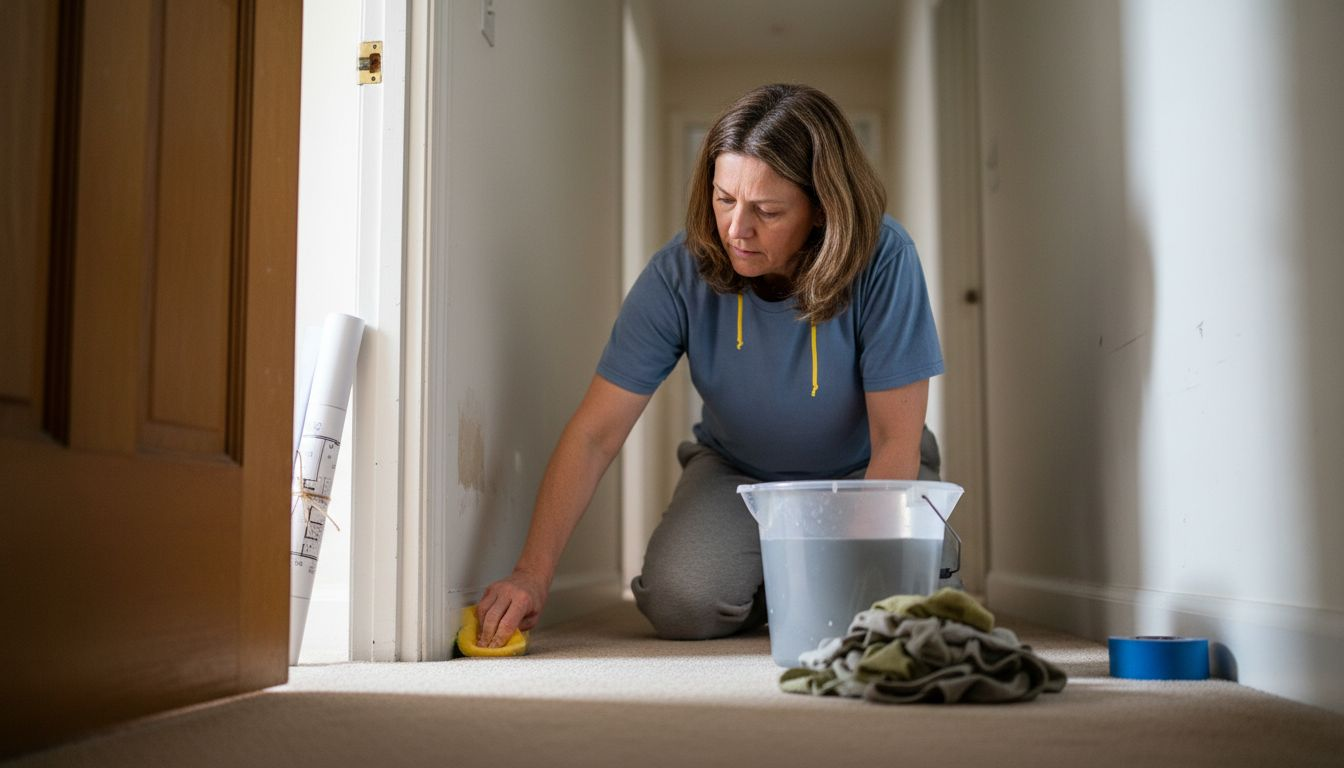
Step 3: Clean Floors, Walls, and Surfaces Thoroughly
Cleaning floors, walls, and surfaces is a critical step in preparing your rental space for move-out. Your goal is to create a spotless environment that meets the highest standards of cleanliness and impresses your property manager or landlord.
Cleaning surfaces effectively requires a systematic approach tailored to different surface types:
Hardwood and tile floors
Sweep or vacuum thoroughly
Use appropriate cleaning solution
Mop with microfiber mop
Pay extra attention to corners and edges
Carpeted areas
Vacuum completely
Treat any visible stains
Consider professional carpet cleaning if needed
Walls and painted surfaces
Remove cobwebs
Spot clean marks and scuffs
Use gentle, non-abrasive cleaning materials
Test cleaning solution on small, inconspicuous area first
High-touch surfaces
Disinfect doorknobs
Clean light switches
Wipe down baseboards
Clean window sills and frames
Pay special attention to often-overlooked areas like baseboards, ceiling corners, and light fixtures. Ensure each surface is not just visually clean but sanitized and free from dirt and grime.
Use this reference to select the best cleaning solution for each surface type:
Surface Type | Ideal Cleaning Solution | Reason |
Hardwood floors | pH-neutral wood cleaner | Prevents damage to wood finish |
Tile & grout | Mild alkaline solution | Effectively breaks down grime |
Glass & mirrors | Ammonia-free glass cleaner | Avoids streaks and residue |
Painted walls | Diluted dish soap | Gently removes marks without harm |
Carpets | Carpet shampoo or foam | Lifts stains and freshens fibers |
Here’s a summary of common overlooked areas and how to address them during move-out cleaning:
Overlooked Area | Common Issue | Recommended Action |
Baseboards | Dust accumulation | Wipe with damp microfiber cloth |
Light fixtures | Cobwebs and dead bugs | Detach and clean thoroughly |
Window tracks | Built-up dirt | Vacuum and scrub with brush |
Cabinet interiors | Crumbs or stains | Empty, then wipe and disinfect |
Behind appliances | Grease and debris | Move and sweep, then mop |
Proper cleaning involves washing with soap and water, followed by appropriate disinfection for each surface type.
Pro tip: Always work from top to bottom in each room to prevent re-contaminating cleaned surfaces, allowing dust and debris to fall naturally to the floor.
Step 4: Sanitize Kitchens and Bathrooms Efficiently
Sanitizing kitchens and bathrooms is a critical step in preparing your rental space for move-out. Your goal is to create a spotless, hygienic environment that demonstrates your commitment to cleanliness and respects the next occupants.
Sanitizing surfaces thoroughly requires a systematic and detailed approach:
Kitchen Sanitization Checklist
Clear all surfaces of items
Wash with hot, soapy water
Disinfect countertops and appliance handles
Clean inside refrigerator and microwave
Scrub sink and faucets
Bathroom Deep Clean Steps
Remove all personal items
Scrub toilet thoroughly
Clean shower, tub, and tiles
Disinfect sink and countertops
Wipe down mirrors and fixtures
High-Touch Areas to Prioritize
Cabinet handles
Light switches
Doorknobs
Faucet handles
Toilet flush mechanisms
Pay special attention to grout lines, corners, and hard-to-reach areas. Use EPA-approved disinfectants and allow proper contact time to ensure maximum sanitization.
Effective sanitization involves a two-step process: cleaning with soap and water, followed by thorough disinfection.
Pro tip: Wear protective gloves and ensure proper ventilation when using strong cleaning and disinfecting solutions to protect your health and safety.
Step 5: Inspect Property and Address Missed Areas
A comprehensive final inspection is your last opportunity to ensure the rental property meets the highest cleanliness standards. Your objective is to systematically review every area and address any overlooked spots that could potentially result in cleaning fees or deposit deductions.
Conducting a thorough move-out inspection involves a methodical room-by-room assessment:
Key Inspection Areas
Living spaces
Kitchen
Bathrooms
Bedroom areas
Hallways and transitional spaces
Critical Inspection Checklist
Check baseboards and corners
Examine walls for scuff marks
Inspect light fixtures and switch plates
Review cabinet interiors
Test window tracks and sills
Look behind furniture and appliances
Documentation is Crucial. Take clear, well-lit photographs documenting the property’s condition. These images serve as your protection against potential disputes and provide concrete evidence of your thorough cleaning effort.
A systematic visual examination helps identify material defects and ensure complete cleanliness.
Pro tip: Bring a bright flashlight and wear white gloves during your final inspection to quickly reveal dust and missed cleaning spots that might otherwise go unnoticed.
Achieve Rental-Ready Perfection with Expert Cleaning Support
Moving out and meeting the high standards of a rental-ready clean can feel overwhelming. From deep sanitizing kitchens and bathrooms to spotless floors and meticulous inspections, every detail counts to protect your deposit and leave a lasting positive impression. If tackling the entire move out cleaning procedure feels like a heavy burden, you do not have to do it alone.
My Lemon Maids specializes in residential and commercial cleaning services designed to ease your stress. Whether you need deep cleaning for those hard-to-reach areas or a comprehensive top-to-bottom service that covers everything mentioned in the move-out checklist, our team is ready to deliver spotless results. We understand the importance of thorough sanitization and the critical final inspection steps that landlords value most.
Experience professional cleaning you can trust and give yourself the peace of mind that your rental will be move-out ready. Don’t let time crunches or challenging stains put your security deposit at risk. Contact us today and discover how our trusted cleaning solutions can simplify your move-out process with exceptional quality and care. For detailed information, explore our residential cleaning services and see the difference a dedicated cleaning partner makes.
Frequently Asked Questions
What supplies do I need for move-out cleaning?
To effectively complete a move-out cleaning, gather essential supplies like all-purpose cleaners, disinfectants, microfiber cloths, scrub brushes, and protective gloves. Assemble your cleaning kit in a caddy or bucket for easy transport between rooms.
How can I declutter my rental space before cleaning?
Declutter by sorting your personal items into three categories: keep, donate, and discard. Start with the most obvious trash and work your way through each drawer and stored area systematically to ensure nothing is left behind.
What are the best practices for cleaning floors and surfaces?
For floors, vacuum or sweep before using an appropriate cleaning solution and mop with a microfiber mop, paying attention to edges and corners. For surfaces, clean from top to bottom, using gentle, non-abrasive cleaners tailored to each surface type to avoid damage.
How should I sanitize the kitchen and bathroom?
Sanitize these areas by first clearing all surfaces, then cleaning with hot, soapy water before applying disinfectants to high-touch areas like faucet handles and cabinet knobs. Ensure contact time is followed for optimal sanitization results.
What should I check during my final property inspection?
Conduct a room-by-room inspection focusing on key areas like baseboards, walls, light fixtures, and cabinet interiors. Document the property’s condition with clear photographs to protect yourself from potential disputes regarding cleaning claims.
How do I handle missed cleaning spots after my inspection?
If you find missed areas during your inspection, promptly address them by using the same cleaning technique appropriate for that surface. This final check ensures your rental space meets cleanliness standards and helps secure the return of your full deposit.
Recommended
Comments