6 Steps for a Post Construction Cleaning Checklist Church
- support760146
- Feb 22
- 14 min read
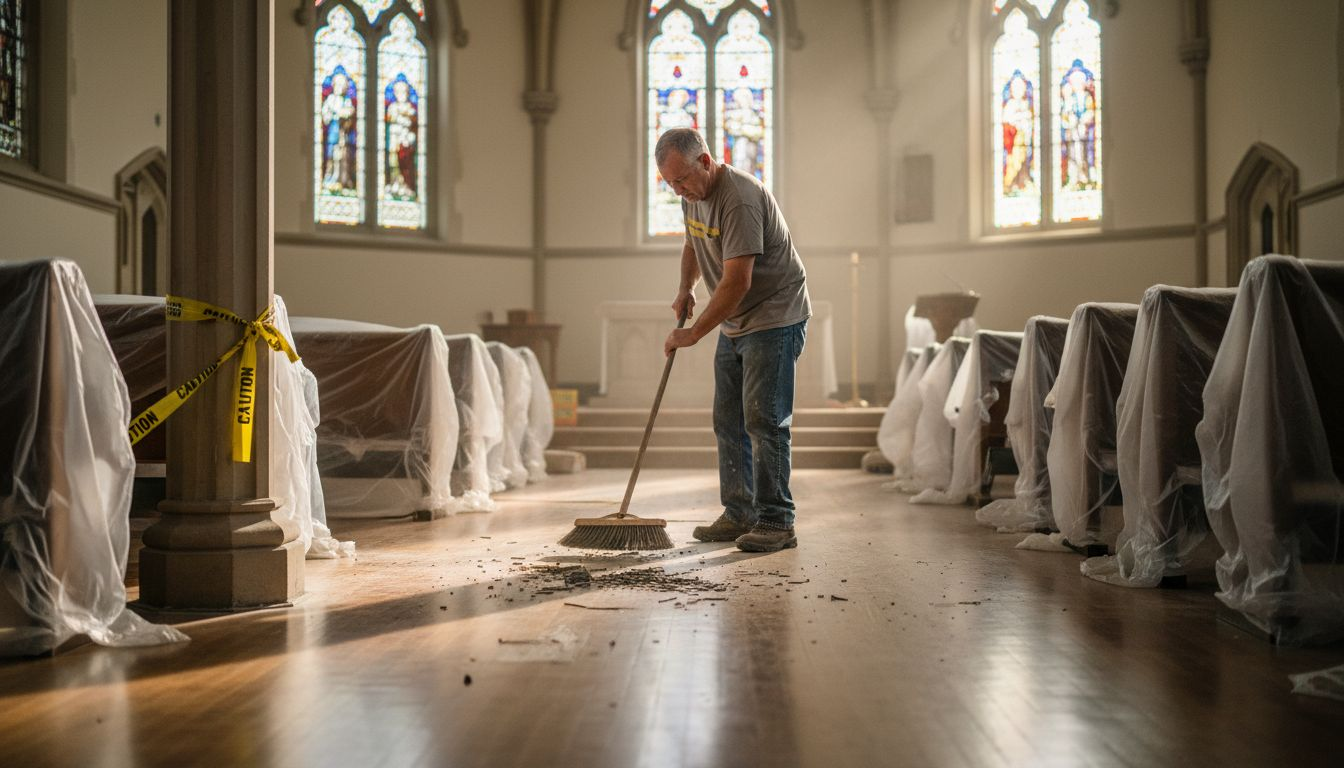
Stepping into your church property after a renovation or building project, you may find layers of dust, scattered debris, and unexpected mess at every turn. Getting your worship space guest-ready again can feel overwhelming and time-consuming. The right approach makes all the difference, setting your facility up for a safe and welcoming return.
This guide reveals practical steps you can take to restore cleanliness, safety, and comfort after construction ends. You will discover proven methods for managing construction waste, removing stubborn dust, and tackling hard-to-reach areas. Each insight gives you the tools to transform your church from construction site back into a place of community and celebration.
Keep reading to learn the essential actions that move you from chaos to cleanliness—ensuring a fresh, healthy environment your congregation will appreciate from the very first service back.
Table of Contents
Quick Summary
Takeaway | Explanation |
1. Remove Construction Debris First | Clearing debris prevents safety hazards and allows effective cleaning throughout the church facility. |
2. Dust High Surfaces Before Lower Areas | Dusting high surfaces first prevents dust from contaminating freshly cleaned floors and ensures thorough cleaning. |
3. Deep Clean All Types of Flooring | Deep cleaning removes embedded dust and protects air quality, ensuring a safe environment for your congregation. |
4. Sanitize Restrooms and Common Areas | Thorough sanitation eliminates pathogens, protecting health in spaces where congregants gather. |
5. Inspect HVAC for Air Quality | Checking air quality and cleaning vents ensures a healthy environment and efficient HVAC operation after construction. |
1. Clear Construction Debris and Bulk Waste
After construction ends, your church property is likely covered with debris, dust, and leftover materials. Clearing this debris is the foundation of any post-construction cleaning effort and must happen before detailed cleaning begins.
Construction waste includes wood scraps, drywall pieces, nails, metal fragments, concrete chunks, and packaging materials. These items create safety hazards for your congregation and make spaces look unfinished. Removing bulk waste first allows your cleaning crew to access all surfaces properly.
Why does this matter for your church? Construction debris can harbor sharp objects that injure feet or hands. Dust and particles settle into HVAC systems, affecting air quality in your sanctuary and classrooms. Bulk waste also prevents detailed cleaning from reaching walls, floors, and fixtures effectively.
What Counts as Construction Debris
Drywall scraps and joint compound residue
Wood pieces, sawdust, and lumber offcuts
Metal shavings, nails, and fasteners
Concrete chunks and masonry dust
Packaging materials from fixtures and equipment
Insulation fragments and vapor barriers
Old materials from demolition or removal work
Effective construction waste management involves sorting these materials by type to maximize recycling opportunities. Rather than sending everything to the landfill, separating wood, metal, and concrete allows these materials to be reused or processed responsibly.
Your cleaning approach should follow a logical sequence. Start with large items and debris piles, then move to smaller particles and dust accumulation. This prevents re-contaminating areas already cleared. For churches, this typically means starting in the sanctuary, then moving through educational spaces, bathrooms, and utility areas.
Consider whether your construction contractor included final debris removal in their contract. Many do, but clarifying this prevents confusion later. If contractors did not remove debris, budget time and resources for this task before scheduling professional cleaning crews.
Clearing construction debris is not just about appearance. It eliminates safety hazards and enables thorough cleaning of every surface in your facility.
Many churches find it helpful to rent a dumpster or arrange bulk waste pickup specifically for construction materials. This prevents debris from accumulating in parking areas or storage spaces. Coordinate timing so debris removal happens shortly after construction completion but before intensive cleaning begins.
Pro tip: Document debris removal with photographs before and after to verify the work is complete, and use this documentation to confirm your facility meets code requirements before reopening to the congregation.
2. Dust High Surfaces and Light Fixtures
Once bulk debris is removed, construction dust settles everywhere—especially on high surfaces where it accumulates unnoticed. Dusting high surfaces and light fixtures is the critical second step that prevents fine particles from contaminating lower areas during detailed cleaning.
Construction dust is incredibly fine and persistent. It clings to ceiling fans, light fixtures, door frames, and the tops of walls. If left undisturbed, this dust will fall onto freshly cleaned floors and surfaces as your congregation moves through the building. Starting from the top prevents you from cleaning the same areas twice.
Why focus on high surfaces first? Gravity works against you during post-construction cleaning. Any dust above waist level will eventually settle downward. Addressing high areas before floors saves time and ensures your final cleaning results last longer.
High-Priority Areas for Dusting
Ceiling fans and light fixtures
Crown molding and ceiling corners
Door frames and window ledges
Tops of cabinets and shelving
HVAC vents and return air registers
Pendant lights and chandeliers
Wall-mounted fixtures and switches
Baseboards at the wall-ceiling junction
Proper technique matters when dusting high surfaces in post-construction settings. Use dry microfiber cloths rather than wet cleaning methods at this stage. Microfiber attracts and holds dust particles instead of spreading them around. Avoid feather dusters, which simply redistribute dust into the air where it resettles.
Your cleaning crew should work systematically from one end of the sanctuary to the other. Start at the highest point and work downward. In educational wings and classrooms, dust one room completely before moving to the next, preventing dust from blowing into already-cleaned spaces.
Personal protective equipment is important during this step. Fine construction dust can irritate lungs and eyes. Provide masks and safety glasses to anyone dusting high areas. This protects your cleaning team and ensures they can work efficiently without discomfort.
Dusting high surfaces first prevents construction dust from resettling on freshly cleaned floors and fixtures throughout your facility.
Consider renting scaffolding or using extension poles with microfiber attachments for areas above 10 feet. This keeps your cleaning team safe while ensuring comprehensive coverage. Many professional post-construction cleaning crews have specialized equipment designed specifically for reaching and dusting difficult-to-access areas.
After dusting, vacuum the floors immediately to capture the dust that fell during this process. This prevents particles from spreading into air handling systems or settling on furnishings.
Pro tip: Work in a systematic pattern, moving from the sanctuary toward exits, so dust naturally flows toward doors rather than deeper into the building.
3. Deep Clean Floors and Carpets
After removing construction debris and dusting high surfaces, your floors and carpets need thorough cleaning. Deep cleaning floors and carpets removes embedded dust, construction residue, and any particles that escaped earlier cleaning steps. This transforms your facility from construction zone to ready-to-use worship space.
Construction sites create heavy soil buildup in carpet fibers and on hard floors. Fine dust embeds into carpet pile, while concrete dust and drywall particles coat tile and wood surfaces. Standard vacuuming alone cannot remove this embedded grit. Professional deep cleaning methods are required to fully restore floor surfaces.
Why is deep cleaning critical for your church? Embedded construction dust affects indoor air quality and can trigger allergies in sensitive congregation members. Dirty floors create safety concerns, especially on stairs and walkways where dust reduces traction. Clean floors also protect your investment by preventing premature wear and extending flooring life.
Floor Cleaning by Type
Carpet requires professional steam cleaning or hot water extraction
Tile and grout need scrubbing with appropriate alkaline cleaners
Wood floors require pH-neutral solutions and professional buffing
Vinyl and laminate need gentle cleaning to prevent water damage
Concrete may need acid washing or specialized sealers
Understanding what deep cleaning involves helps you determine the right approach for each floor type in your facility. Different materials require different cleaning solutions and techniques. For example, wool carpets require gentler methods than synthetic fibers to prevent damage.
Carpet cleaning should follow proper maintenance practices that remove both surface dirt and deeply embedded soils. Professional equipment uses hot water extraction to flush out construction residue. For churches with wool or historic carpets, specialized cleaning methods preserve fiber integrity while ensuring thorough cleanliness.
Timing matters for floor cleaning. Schedule carpet cleaning after all dusting is complete but before final walkthrough inspections. This prevents newly cleaned carpets from being contaminated by dust from other cleaning activities. Hard floors can be cleaned simultaneously in separate areas without interference.
Deep cleaned floors and carpets restore your facility’s appearance and protect both your congregation’s health and your flooring investment.
Consider the layout of your church when planning floor cleaning. Start with less-visible areas like storage rooms and utility spaces, then move to primary worship areas. This approach allows cleaning solutions to dry properly while your crew progresses through the building.
Don’t overlook floor baseboards and corners where construction dust accumulates. These areas are often forgotten but become noticeable once main floors are clean. Include baseboard cleaning as part of your floor deep cleaning process.
Pro tip: Schedule floor cleaning for late in the day so carpets have overnight to dry completely before congregation members walk on them the next morning.
4. Sanitize Restrooms and Common Areas
Restrooms and common gathering spaces are where your congregation spends time together, making them critical areas for sanitation. Sanitizing these spaces goes beyond basic cleaning by eliminating pathogens and creating a hygienic environment that protects health. This step requires both thorough cleaning and proper disinfection using appropriate products.
Construction creates unique challenges in restrooms and common areas. Dust and debris settle on surfaces, fixtures, and hard-to-reach corners. Bathrooms may contain caulk residue, paint splatter, or grout haze on tiles. Common areas accumulate fine particles on furniture and equipment. Cleaning must remove visible dirt before disinfection can be effective.
Why is this step separate from general cleaning? Disinfectants only work on clean surfaces. If dirt and dust remain, pathogens hide beneath the buildup and disinfectants cannot reach them. Your cleaning crew must clean first, then disinfect to truly sanitize these critical spaces.
High-Touch Surfaces Requiring Extra Attention
Door handles and push plates
Light switches and electrical outlets
Faucet handles and soap dispensers
Toilet flush handles and seat covers
Stall dividers and grab bars
Countertops and sink surfaces
Handrails in hallways and stairwells
Tables and chairs in gathering areas
Proper sanitization techniques involve a two-step approach: cleaning to remove debris, followed by applying EPA-approved disinfectants. Your cleaning crew must follow product instructions carefully, including contact time (how long disinfectant must remain wet on the surface). Fresh mop water and clean supplies per area prevent cross-contamination between restrooms.
Personal protective equipment is essential for your cleaning team. Gloves protect hands from chemicals and pathogens. Eye protection prevents splashing. Masks reduce inhalation of disinfectant fumes. Proper PPE ensures your team stays healthy while sanitizing.
Restrooms need attention to overlooked areas like baseboards, the outside of trash cans, and behind toilet tanks. These spots collect dust during construction but are often missed during quick cleaning jobs. Include these areas in your comprehensive sanitization checklist.
Proper sanitization protects your congregation by eliminating pathogens that could cause illness in your shared spaces.
Common areas like fellowship halls, classrooms, and offices accumulate construction dust on all surfaces. Disinfect tables, chairs, light switches, and door frames thoroughly. Pay special attention to areas where children gather, as younger congregation members are more vulnerable to illness.
Schedule restroom and common area sanitization near the end of your cleaning sequence. This prevents these freshly sanitized spaces from being recontaminated by construction debris from other cleaning activities still underway.
Pro tip: Use fresh mop heads and water buckets for each restroom to prevent spreading bacteria from one bathroom to another during the sanitization process.
5. Clean Windows and Glass Doors Thoroughly
Windows and glass doors are among the last details you notice until they are dirty. Construction dust coats glass surfaces, reducing natural light and creating a dingy appearance throughout your facility. Thorough window cleaning is the finishing touch that makes your church look truly ready for worship and gatherings.
Construction creates unique challenges for glass cleaning. Concrete dust, drywall residue, paint overspray, and adhesive residue accumulate on windows and doors. This buildup is often stubborn and requires specialized techniques to remove without damaging frames, seals, or coatings. Standard household glass cleaners frequently cannot address construction-grade soiling.
Why does this matter for your church? Clear windows allow natural light to brighten your sanctuary and educational spaces. This improves mood and reduces electricity costs. Dirty windows create a negative first impression for visitors and may discourage congregation members from attending. Clean glass also helps you inspect windows for damage that occurred during construction.
Areas Requiring Special Attention
Interior and exterior window panes
Glass door panels and frames
Window sills and tracks
Frames and muntins (grid patterns)
Glass partitions and room dividers
Skylight or clerestory windows
Entrance door glass and side lights
Proper window cleaning techniques protect glass coatings and sealants while removing construction residue. Using gentle detergents and soft cloths prevents damage to special coatings that improve energy efficiency. Harsh scrubbing or abrasive materials can scratch glass or degrade protective finishes installed during renovation.
Your cleaning approach should follow manufacturer guidelines for any specialty glass in your facility. Some windows have reflective coatings, tempered glass, or insulating films that require specific care. Always verify the type of glass and any special treatments before selecting cleaning methods and products.
Consider whether interior and exterior windows need attention. Construction dust settles on both sides, but exterior windows may have environmental dirt and pollen in addition. Allocate time for both interior and exterior glass cleaning to achieve complete results.
Clean windows restore natural light and provide a welcoming appearance that reassures your congregation the facility is ready for use.
Start with interior windows and doors, as these are more visible to your congregation. Move to exterior windows once interior work is complete. Use squeegees and lint-free cloths to prevent streaking. Proper technique leaves glass crystal clear without residue or water spots.
Inspect windows while cleaning to identify any construction damage. Look for cracks, loose panes, or broken seals. Document any damage so repairs can be scheduled before the facility officially opens.
Pro tip: Clean windows on a cloudy day or when direct sunlight is not on the glass, as sun heat causes cleaning solutions to dry too quickly and leave streaks.
6. Finalize with Air Quality and Vent Inspection
Construction fills your church with fine dust particles that settle into air handling systems and linger in the air long after visible cleaning is complete. Finalizing with air quality and vent inspection ensures your congregation breathes clean, healthy air when they return to worship. This critical final step protects occupant health and verifies your HVAC system operates properly.
Construction dust damages HVAC systems. Particles clog filters, reduce airflow, and circulate contaminated air throughout your facility. If vents and ducts are not cleaned after construction, this dust continues affecting air quality for months. Your congregation members, especially those with allergies or respiratory conditions, will suffer the consequences of neglected ventilation systems.
Why is this the final step? Air quality problems become apparent only when your facility is occupied and ventilation systems are running. Completing all other cleaning first prevents new dust from entering vents during the inspection process. This sequencing ensures you accurately assess air quality and make decisions based on true post-construction conditions.
HVAC Inspection Checklist
Replace or clean main HVAC filters thoroughly
Inspect return air vents for dust accumulation
Check supply air vents for construction debris
Verify air flow patterns throughout the building
Test thermostat functionality and temperature control
Inspect ductwork for visible dust or blockages
Confirm outside air intake is clear
Review HVAC maintenance records and schedules
A comprehensive building ventilation walkthrough identifies potential air quality issues before your congregation returns. Check that outside air intake is free from construction debris and properly positioned. Verify that air exchange rates meet building standards for your facility size and occupancy.
Your HVAC contractor should perform post-construction system verification. They check that equipment operates within manufacturer specifications and that air balancing is appropriate for your building. Professional testing confirms your ventilation system delivers healthy indoor air quality.
Large assembly spaces like sanctuaries require special attention to air distribution. These high-ceilinged areas need adequate ventilation to prevent heat and humidity stratification. Ensure your HVAC system delivers appropriate air exchange rates for gathering spaces where multiple people will congregate.
Proper air quality protects your congregation’s health and ensures your HVAC investment operates efficiently for years to come.
Document your air quality inspection results. Photograph vent conditions before and after cleaning. Keep records of filter replacements and maintenance performed. This documentation proves your facility meets health and safety standards.
Consider requesting a professional indoor air quality assessment if your facility serves vulnerable populations like young children or elderly members. Testing can identify any lingering pollutants or moisture issues requiring additional attention before reopening.
Pro tip: Schedule your HVAC inspection and vent cleaning on the final day of post-construction cleaning to capture the most accurate air quality snapshot before your congregation returns.
Below is a comprehensive table summarizing the key phases and considerations for post-construction cleaning tasks described in the article.
Main Phase | Tasks and Focus Areas | Importance |
Phase 1: Clear Construction Debris | Remove leftover materials such as wood scraps, drywall pieces, nails, and packaging materials. Use sorting methods to recycle whenever possible. | Clears safety hazards and prepares surfaces for detailed cleaning. |
Phase 2: Dust High Surfaces and Fixtures | Dust fixtures, ceiling corners, HVAC vents, and other high surfaces using microfiber cloths. Work systematically to prevent recontamination. | Prevents fine dust from falling onto cleaned floors and improves overall indoor air quality. |
Phase 3: Deep Clean Floors and Carpets | Conduct professional steam cleaning for carpets and appropriate treatments for various floor types such as tile and wood. Pay attention to baseboards and corners. | Restores flooring appearance and eliminates embedded dust, protecting air quality and flooring lifespan. |
Phase 4: Sanitize Restrooms and Common Areas | Clean and disinfect restrooms and high-touch surfaces like handles, countertops, and fixtures. Use EPA-approved disinfectants. | Ensures a hygienic environment, reducing pathogen presence for congregation members. |
Phase 5: Clean Windows and Glass Doors | Clean interior and exterior glass surfaces including skylights and door panels using suitable detergents and tools. | Enhances natural lighting and ensures a welcoming appearance. |
Phase 6: Air Quality and Vent Inspection | Replace HVAC filters, inspect air vents, and ensure proper air circulation and system operation. Consider professional assessments for air quality testing. | Promotes healthy indoor air and ensures ventilation systems run efficiently. |
This table succinctly outlines the systematic approach to post-construction cleaning as detailed in the article.
Ensure Your Church Shines After Construction with Expert Cleaning Solutions
Construction debris and persistent dust create real safety and health challenges for churches eager to welcome their congregation back. From bulk waste removal to deep floor cleaning and air quality inspections your facility needs a thorough and professional approach that tackles every pain point mentioned in the checklist. Our team understands the importance of eliminating hazards while restoring beauty and cleanliness so your sanctuary is safe and inviting.
Experience peace of mind with specialized post construction cleaning that covers:
Removal of construction debris and bulk waste
Dusting all high surfaces and delicate fixtures with care
Deep cleaning of carpets and floors tailored to your materials
Complete sanitization of restrooms and common areas
Expert window and glass door cleaning for crystal clarity
Final HVAC vent inspection to ensure healthy indoor air quality

Ready to move from construction chaos to a pristine worship space? Discover how our comprehensive post construction cleaning services can save you time and protect your congregation’s health. Visit My Lemon Maids now and schedule your professional cleaning team to restore your church with care and precision. Don’t wait let us help you reopen confidently and beautifully.
Frequently Asked Questions
What is the first step in the post construction cleaning checklist for a church?
Clearing construction debris is the first step. Begin by removing large items like wood scraps and drywall pieces to ensure safety for your congregation and prepare all surfaces for cleaning.
How do I effectively dust high surfaces and light fixtures after construction?
Start dusting from the highest points, such as ceiling fans and light fixtures, working downward. Use dry microfiber cloths to trap dust and prevent it from resettling on freshly cleaned surfaces.
What methods should I use for deep cleaning carpets and floors in my church?
Utilize professional steam cleaning for carpets and appropriate alkaline cleaners for tile. Schedule the cleaning to occur after dusting is complete but before final inspections to avoid contamination from ongoing cleaning activities.
How do I sanitize restrooms and common areas following construction?
Thoroughly clean surfaces in restrooms and common areas first, removing any dust and debris. Then, apply EPA-approved disinfectants to ensure all high-touch areas like door handles and fixtures are hygienic and safe for your congregation.
Why is a final inspection of air quality and vents necessary after construction cleaning?
Inspecting air quality and vents ensures that your HVAC system is free from construction dust and functions properly. Complete this final step to confirm that your congregation will breathe clean air, enhancing their health and comfort during services.
Recommended
Comments